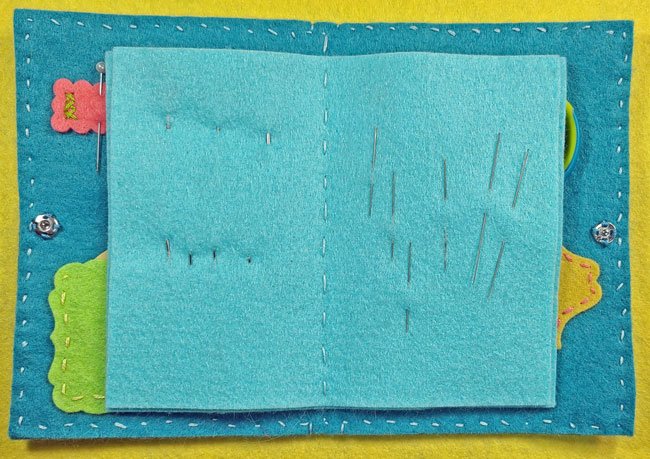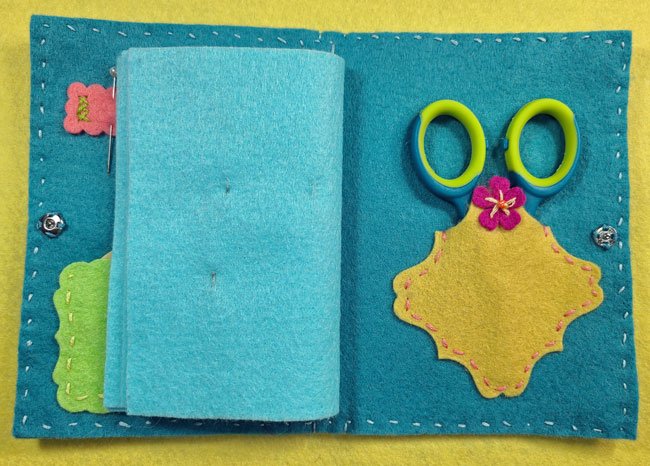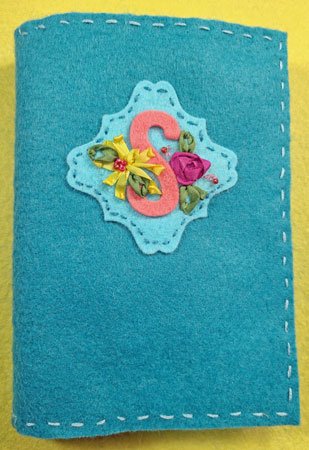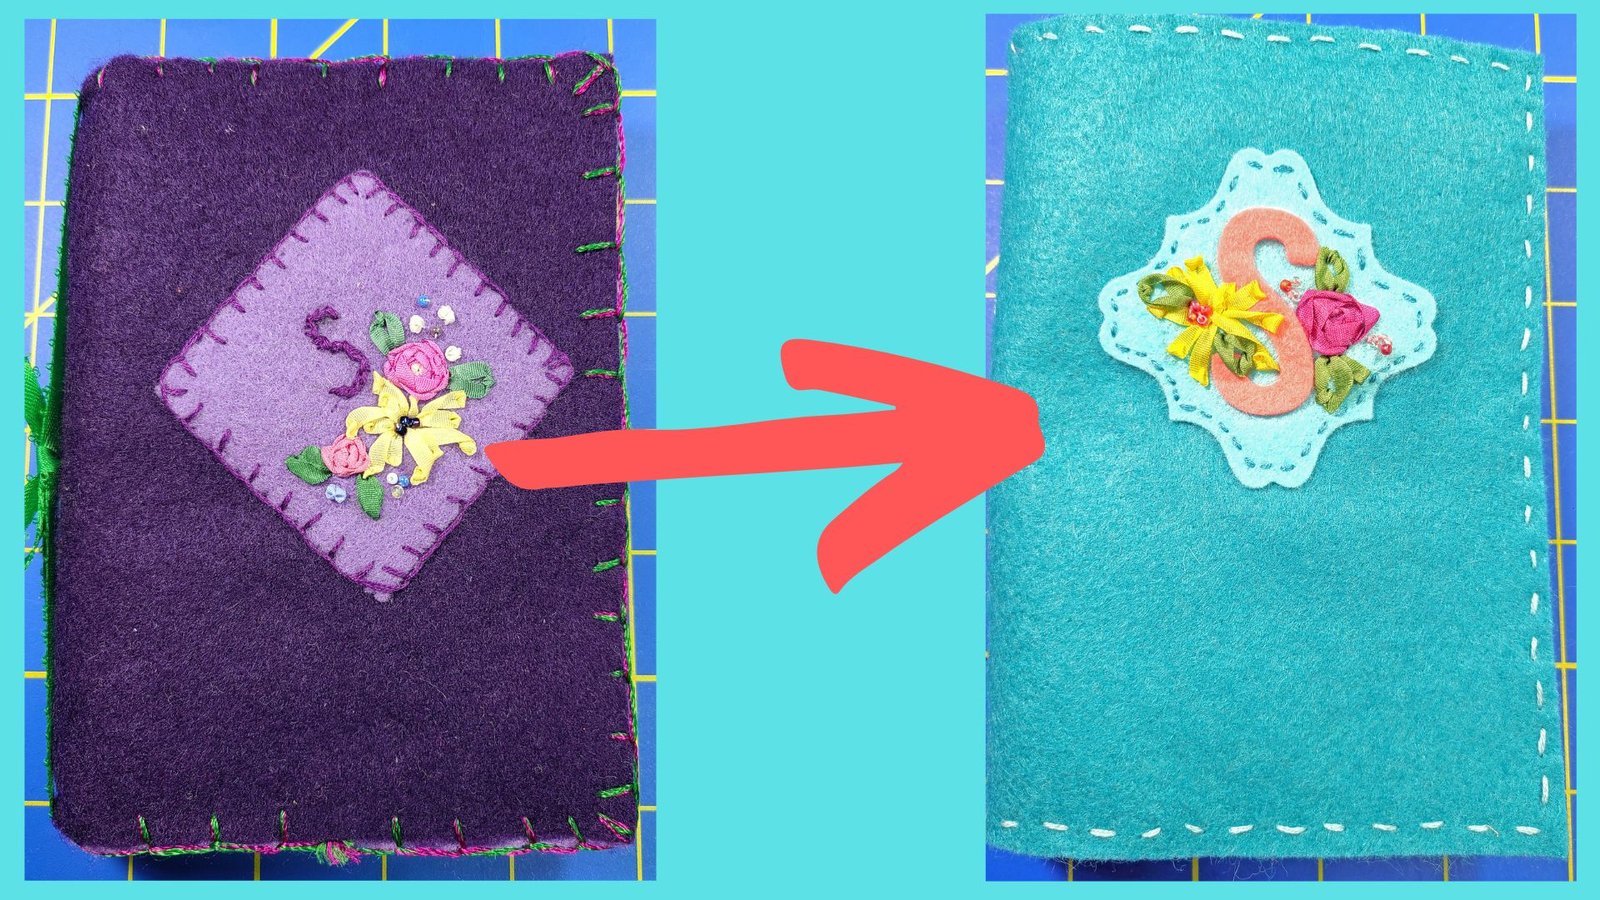
Today we are re-creating a felt needle book/case that I originally created over 10 years ago. I am using wool-blend felt from Benzie Design. Go check out the way they arrange felt color palettes at BenzieDesign.Com and thank me later. The steps are easy, and simple sewing will yield great results.
If you are a papercrafter, like me, you will find that felt is a beautiful, warm and forgiving medium, but its little bit of “give” or stretch means it is nearly impossible to get exact edges or corners that line up. Wool-blend felt is very easy to die cut with wafer thin dies in your manual die cutting machine. With so many thin dies available on the market, it is easy to create just the right embellishment for any project using felt. Give it a try!
Below is the link to a page I created with similar shapes to the embellishment I used in the video on YouTube. This document also shows a sketch of where the ribbon stitches went on the cover medallion.
Here are the instructions to create the same size Needle Book that I have made, but you can create a needle case of any size.
- 2 sheets of 9″ x 12″ felt (I used wool-blend felt by Benzie Design)
- Smaller sizes of felt to die cut or cut into shapes for labels, tabs, pockets, initials, flowers, or other embellishments The pockets and embellishments are approximately 2 to 2.5 inches square.
- 2 sew-on snaps size #1 or hook and loop dots for closures for the book and for the scissor pocket
- Coordinating embroidery floss in several colors (I used DMC cotton floss)
- Chenille or embroidery needle (I generally use a size #22 or #24 Chenille
- Beading Needle, if you are using seed beads
- Small Embroidery scissors or snips
- Large scissors to cut felt shapes, if needed
- Wafer thin dies in various label shapes, flowers or letters. You can also find shapes on the internet to print, trace and cut.
- Silk Ribbon (optional) to embellish the cover label. You can also die cut small flower and leaf shapes instead.
- A bit of craft glue and/or straight pins for holding felt or shapes in place while you stitch them together
- Low-tack tape (remove more stickiness by laying the sticky side onto clothing and removing) or Very Low-tack tape for holding shapes together or for marking stitch placement
- Ruler for marking stitch placement and for help centering felt shapes and pages
Cut both 9″ x 12″ felt sheets in half. Choose 2 halves to be your inside and outside cover and trim the inside cover to be 6″ x 8-7/8″.
From remaining 2 halves, cut two rectangles approximately 5″ x 7-1/2″ inches each for your pages. Trim the inside page to be 5″ x 7-3/8″ wide.
Mark a dot on each short edge of the inside cover for the sew-in snap. Aim for the middle of and about 1/4 inch in from the edge.
Stitch both sides of the sew-on snaps to the inside cover using 2 or 3 strands of embroidery floss. Start and end stitching on the back of the inside cover. This will not be visible once the outside cover is sewn on.
Die cut label shapes for a 2″ x 3″ pocket, a 2.5″ scissors pocket and a .75″ x 2-5/8″ rectangle for a “tab” for pins.
Die cut a 2 Inch label shape for the cover embellishment
Die cut a Letter for a monogram for the front cover embellishment
Stitch the pockets and tabs onto the inside cover using 2 or 3 strands of coordinating embroidery floss
Stitch on the snap for the scissors pocket. Cover up the stitches showing on the outside of the pocket with an embellishment (flower) and a dab of glue. Hold the embellishment in place until glue dries with a stamp block or other heavy object.
For the cover embellishment: Glue felt initial to the embellishment label shape. Stitch flowers using silk ribbon embroidery, cotton embroidery floss or stitch on other felt shapes.
Stitch the label to the front outside cover.
Align the outside cover, inside cover and both pages in the center. Pin, clip or tape them together.
Stitch the pages to the inside and front cover using 3 strands of embroidery floss. It is helpful to mark the stitch placement with a ruler. I used every quarter inch as a guide. Also, you can mark the stitch locations on the felt with a sharpie or use tape and mark the tape. Since these stitches will show on the outside and inside of the book, I found it helpful to mark the front and back of the project so the stitches lined up. As I put the needle in one side, I had a mark to aim for as the needle exited all four layers of felt.
Once the pages are secured, stitch the front and back cover together. Note, again, these stitches will show so marking the inside and outside every quarter inch is helpful. I used tiger tape here, and the inside stitches were shorter than the outside stitches.
There was some wonky stitches because I did not have anything marked on the “exit” side of the felt. The needle would exit at an angle and it meant the stitches were not perfectly straight. I was happy with that, but marking the inside and outside or the start and exit of the needle will help with straight stitches.


Thank you again for stopping by! Please visit my YouTube Chanel for detailed instructions.
Stephanie
Links to Products used
Please note that I am an affiliate with Amazon, Scrapbook.Com, and the Fat Quarter Shop. This means the store pays me a small commission for referring them if you click on an affiliate link and make a purchase.
I have purchased all the items in this post and accompanying YouTube video with my own money and have requested to be an affiliate of these companies because I like their service and the products I am showing. The little bit I earn from this is a tiny fraction of what it takes to design the project, purchase materials (even the ones that didn’t work out and make it into the final form), create, film, edit, post, upload and manage the video and blog posts. I do this because I hope you get value and even inspiration from the ideas and instructions I post.
Thank you for watching, reading and purchasing!
- Honey Bee Stamps Bee Bold Alphabet Dies http://shrsl.com/3vuxy [Scrapbook.com]
- Honey Bee Stamps Whimsical Flower Dies http://shrsl.com/3vuxz [Scrapbook.com]
- Spellbinders Mini Blooms & Sprigs Dies http://shrsl.com/3vuxw [Scrapbook.com]
- Spellbinders Mini Blooms & Sprigs Dies https://amzn.to/3X5wHNL [Amazon.com]
- Honey Bee Stamps Scallop A7 Rectangles Dies: http://shrsl.com/3vuyc [Scrapbook.com]
- Magic Mat (Cutting Plate) http://shrsl.com/3vuy6 [Scrapbook.com]
- 4” Stainless Steel Scissors http://shrsl.com/3vuy9 [Scrapbook.com]
- Tiger Tape https://shrsl.com/3vuxj [Fat Quarter Shop]
- Tiger Tape https://amzn.to/3kno9DH [Amazon]
- Pixie Tape – I guess it is pink now: https://shrsl.com/3vuxr [Scrapbook.com]
- DMC Chenille Needle size 22: https://amzn.to/3XhpKt0 [Amazon]
- DMC Chenille Needle size 24: https://amzn.to/3QQW3wM [Amazon]
- Boye Plastic Yarn Needle: https://amzn.to/3XBAeU8 [Amazon]
- Gum Dental Threaders: https://amzn.to/3H980dO [Amazon]
- Dritz Needle Puller: https://amzn.to/3WldE0O [Amazon]
